
Noise from the glove compartment
INFO: Applies to cars with chassis numbers up to: 79900 (4-door) and 4403 (5-door).
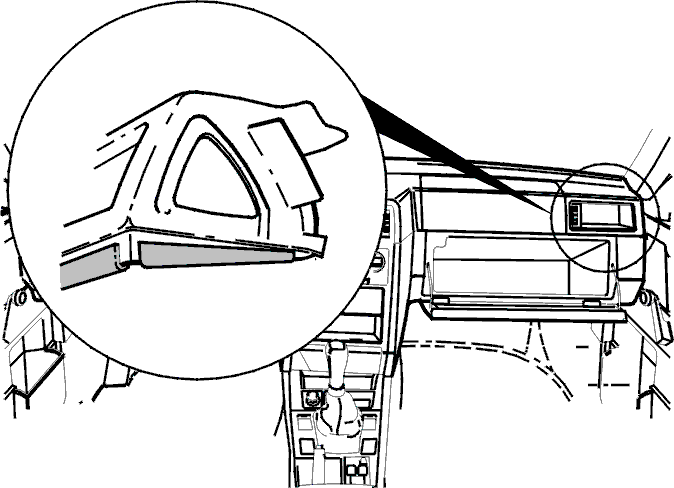
The glove compartment lid rattles because there is too much play between the lid and the glove compartment.
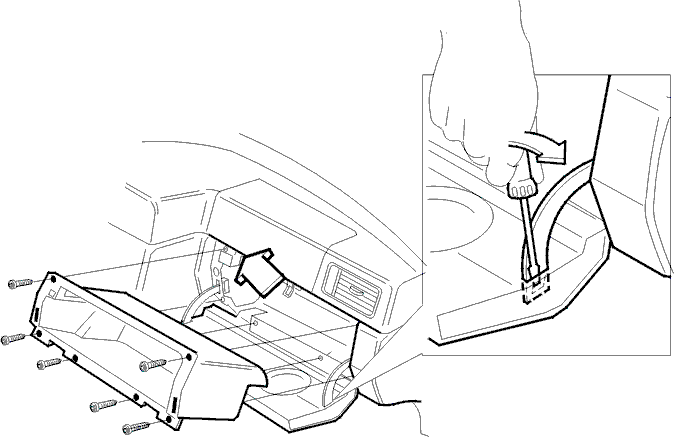
- Remove glove compartment
- Open glove compartment lid
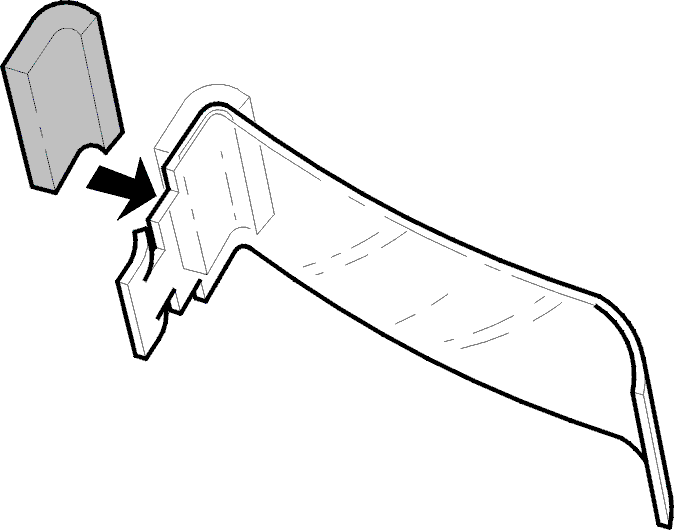
- Remove stop arms (see illustration 1)
- Remove 6 screws holding glove compartment in dashboard
- Carefully pull out glove compartment
- Remove 4 screws holding hinges
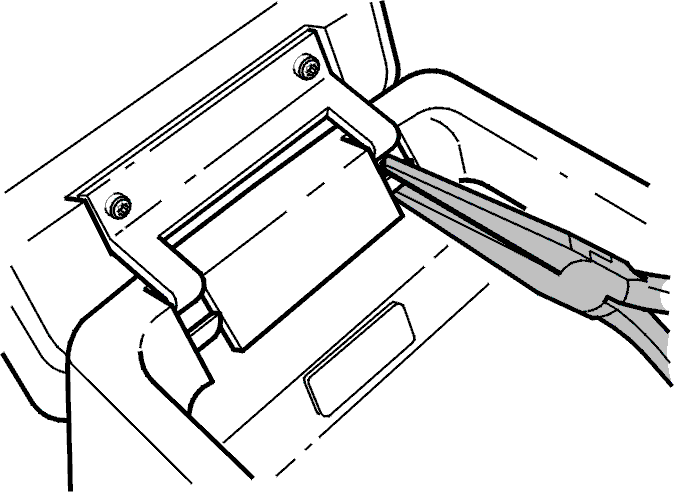
- Press lid forward (see illustration 2)
- Tighten screws and check fit

Illustration 1 – removing stop arms 
Illustration 2 – adjusting lid position

Rattling from glove compartment lid because there is no grease on the linkage
INFO: Applies to cars with chassis numbers up to: 74087 (4-door) and 1735 (5-door).
Can occur when the engine is idling on cars with automatic transmission in Drive and the air conditioning (A/C) on. Most common on cars with a passenger airbag.
- Unscrew the lid and grease the linkage.

Electrical cables rattling against the glove compartment
INFO: Applies to cars with chassis numbers up to 50000.
- Remove glove compartment (see the paragraph Noise from the glove compartment)
- Secure all cables that can come into contact with the glove compartment with anti-squeak tape.
If the car has SRS: wrap a decal with the EAN code around the SRS wiring so that the EAN code is visible. Tape both ends. NOTE: Do not tape over the EAN code.
Chirping noise from the glove compartment switch
INFO: Applies to model year 1992.
- Remove glove compartment (see the paragraph Noise from the glove compartment)
- Lubricate switch spring (see illustration 4)

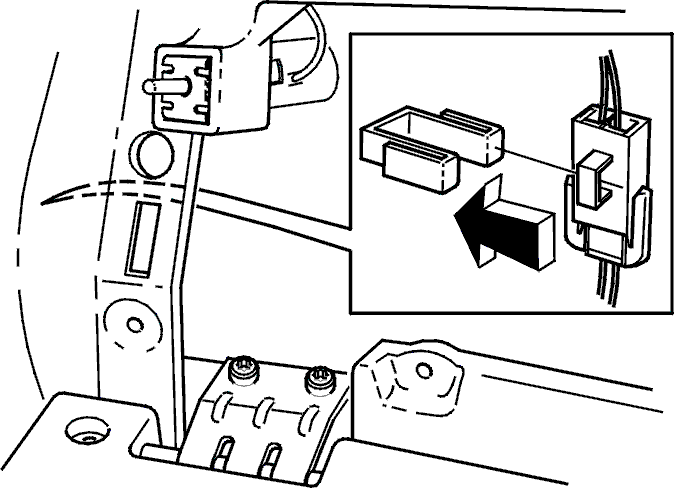
The glove compartment lighting connector rattles because it is incorrectly installed in the clip
INFO: Applies to cars with chassis numbers up to 108000 (4-door) and 19000 (5-door).
- Remove glove compartment (see the paragraph Noise from the glove compartment)
- Press connector into place in the correct position in the clip (see illustration 5)
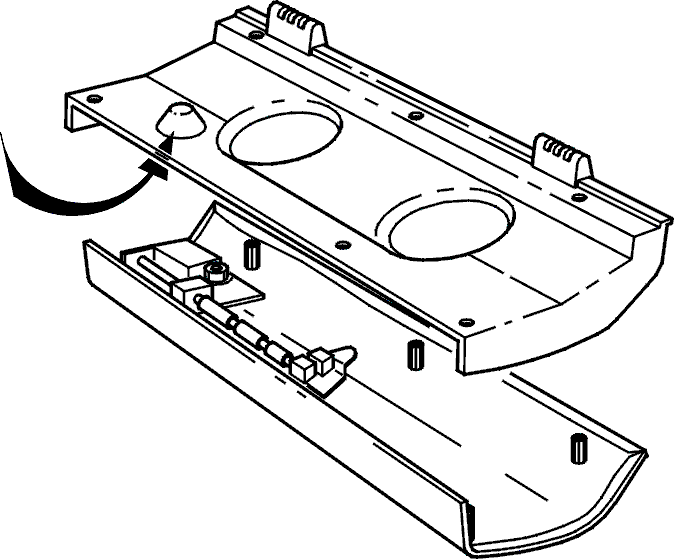
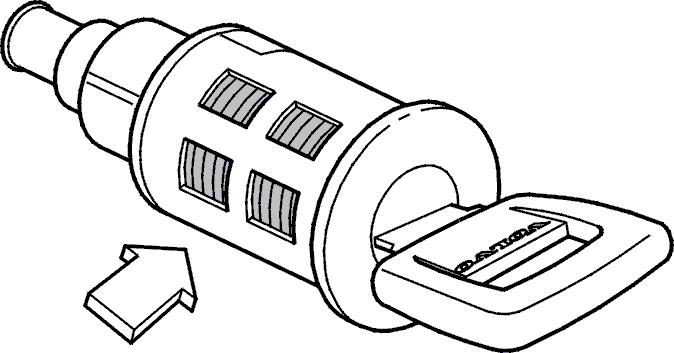
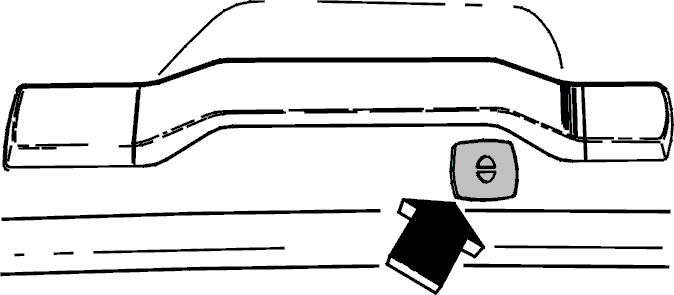
Glove compartment lock cylinder rattles because it has too much axial play
INFO: Applies to cars with chassis numbers up to 39000.
- Unscrew glove compartment lid (7 screws)
- Stick a piece of foam rubber into the recess opposite the lock (see illustration 6)
Vibration from the mounting discs in the glove compartment lock
INFO: Applies to cars with chassis numbers 36120 – 80000.
- Unscrew glove compartment lid (see the paragraph Glove compartment lock cylinder rattles because it has too much axial play)
- Lubricate mounting discs with grease (see illustration 7)
Vibration from remote controlled alarm receiver
INFO: Applies to cars with chassis numbers 30700 – approximately 38000.
- Remove glove compartment (see the paragraph Noise from the glove compartment)
- Remove receiver (8 mm socket)
- The receiver is located between the glove compartment and cowl panel. It is mounted on a bracket with one screw
- Apply foam rubber to the lower section of the unit on the side next to the cowl
- If foam rubber was already been used and the rattling continues, apply more on top of the existing foam rubber

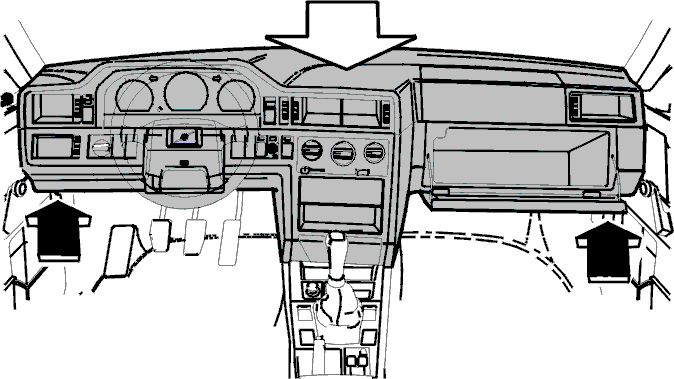
Noise from dashboard cover
INFO: Applies to cars with chassis numbers up to 105700 (4-door) and 17550 (5-door).
Squeaking from edges of lower section of dashboard. Occurs
usually at temperatures over + 20°C.
- Unscrew cover. (See “Replacing dashboard panel”)
- Apply anti-squeak tape to the lower edge of the cover on each side. Only apply to the outer edge on the driver’s side.
Squeaking noise where the front edge of the top cover is in contact with the windshield
INFO: See also Squeaking from parking permit holder.
- Remove 2 screws by A-posts
- Press down the dashboard. The dashboard should not be in contact with the glass.
- Tighten screws while holding down dashboard.
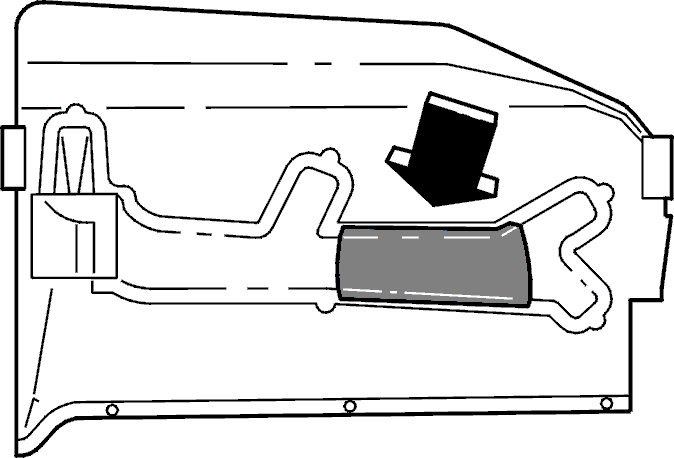
Noise from air duct
INFO: Applies to cars with chassis numbers up to 45044.
Wiring vibrating against the soundproofing panel air duct on the passenger side.
- Remove the soundproofing panel
- Apply foam rubber to the air duct
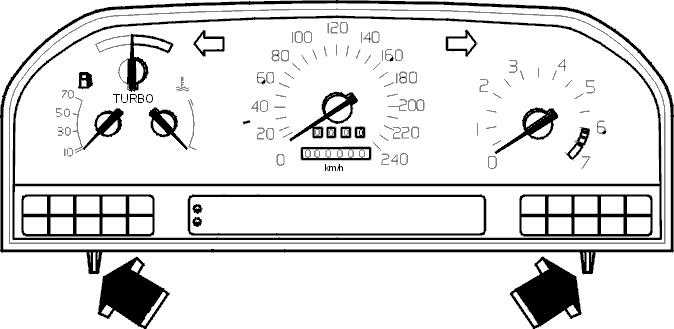
Noise from combined instrument panel
INFO: Applies to cars with chassis numbers up to 57000.
Vibration as burring on the reverse of the combined instrument panel surround comes into contact with the combined instrument panel glass.
Can occur when the engine is idling on cars with automatic transmission in Drive and the air conditioning (A/C) on.
- Remove dashboard cover and combined instrument panel. (See “Replacing combined instrument panel” )
- File down burring

Noise caused by combined instrument panel locating pins
INFO: Applies to cars with chassis numbers up to 60000.
There is too much play between the locating pins on the lower section of the combined instrument panel and the bushings in the dashboard. This means that the panel and combined instrument panel glass come into contact.
- Remove dashboard cover and combined instrument panel
- Apply foam rubber to the front of the locating pins
Noise against the combined instrument panel
INFO: Applies to cars up to and including model year 1993
Can occur when the engine is idling on cars with automatic transmission in Drive and the air conditioning (A/C) on.
- Remove dashboard cover and combined instrument panel
- Secure all cables that can come into contact with the combined instrument panel with anti-squeak tape
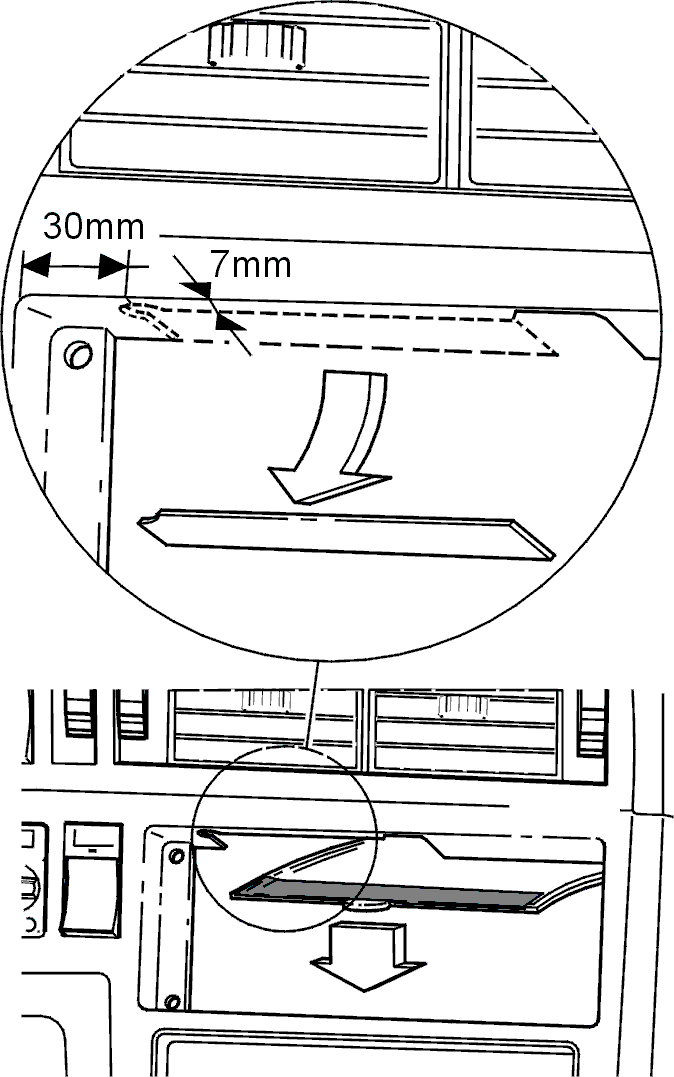
Clicking sound between mixing chamber and bead of adhesive on the dashboard
INFO: Applies to cars with chassis numbers up to 94500 (4-door) and 9350 (5-door)
Can occur when the engine is idling on cars with automatic transmission in Drive and the air conditioning (A/C) on.
- Remove heater control panel (The control panel is secured by two screws on cars with a standard heater or MCC. On cars with ECC the controls are secures with a spring clip)
- Drill a 5 mm hole in the surround, approximately 30 mm from the left-hand corner and approximately 7 mm in
- Saw off the surround to the cut out by the screw hole (about the middle of the surround)
- Remove mixing chamber from dashboard
- Bend down and apply anti-squeak tape to the tab as illustrated
Noise from loudspeaker grille
INFO: Applies to cars with chassis numbers up to 30814
Occurs usually at temperatures over + 20 ° C
- Remove loudspeaker grille
- Apply anti-squeak tape to all mating surfaces

Noise from A-post panel
- remove inner B-post panel: pull off
- remove retaining clip (red) inside B-post
- remove inner A-post panel: pull off
- remove clip strip screws
- file the lower hole 2-3mm, toward the front of the car (if this has not already been done)
- press the clip strip backward
- tighten screws while pressing the clip strip backwards
- reinstall panel and check clearance

Squeaking from parking permit holder
INFO: the noise may seem to come from the dashboard
Try pulling the parking permit holder backward/inwards into the car first. If the noise persists (and is therefore not caused by the parking permit holder), see Squeaking noise where the front edge of the top cover is in contact with the windshield.
If the noise disappears when the parking permit holder is pulled backward/inwards into the car:
- remove A-post panel
- apply anti-squeak tape to all mating surfaces
Noise from center console
INFO: Applies to cars with chassis ip to 80578 (4-door) and 4403 (5-door)
- open center console cover
- adjust by pressing the hinge together with pliers
Noise from ECC sensor
The ECC sensor in the headlining under the grab handle may make a constant high-pitched noise
INFO: Applies to cars with chassis numbers up to 75098 (4-door) and 2049 (5-door)
- remove A-post panel, B-post panel, sun visor, front and rear grab handle
- carefully pry headlining downward
- remove sensor with an angled torx driver 25
- replace sensors (new P/N: 6144336 and 9144337)
Based on Volvo VCC-083640 EN 2001-08-25